
How to Make Glitter Sensory Bottles for Kids.
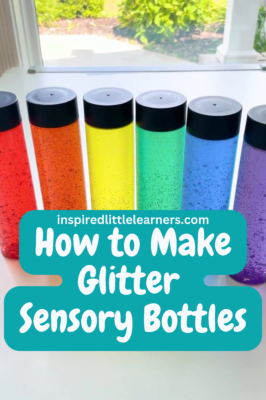
Glitter sensory bottles are EASY and inexpensive to make at home!
They are also a fun activity for older kids to make on their own.
I recommend using plastic bottles rather than glass bottles. (I have made them using glass bottles before and found they tend to be too heavy for young kids.)
This post may contain affiliate links. As an Amazon Associate and participant in other affiliate programs, I earn a small commission on qualifying purchases (at no additional cost to you). Thank you for your support! Read our disclosure policy here.
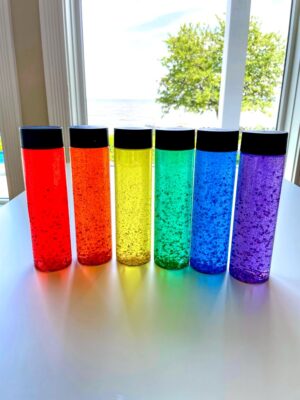
To make rainbow sensory bottles
Materials:
Clear bottle with lid
Water*
Clear school glue
Food coloring
Glitter
*Depending on how long you keep the bottles, tap water can introduce some impurities. I recommend using distilled water!
Steps:
1. Fill a bottle 2/3 with water.
2. Add a few drops of food coloring.
3. Add glitter.
4. Add clear glue, making sure to leave a little space at the top.
5. Hot glue on the lid!
How to use your sensory bottles
Sensory bottles are great for all ages! Here are some ideas for how you can use a sensory bottle:
– Lay the bottle on its side for baby’s tummy time.
– Sitting babies will enjoy holding and lifting the bottles.
– Toddlers and older kids will be mesmerized watching the glitter slowly fall in the bottle. (Looking at the bottle can be very calming.)
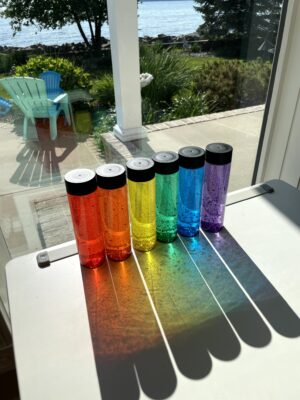
– Enjoy the colors of the bottle on a light table or in a sunny window.
– Place one bottle in front of the other to explore color mixing! 🌈
You may also enjoy these posts:
How to Dye Rainbow Rice for a Sensory Bin
How to Dye Rainbow Popcorn for a Sensory Bin
Dancing Rainbow Popcorn: Science Activity